For the longest time we’ve felt pretty confident in the ‘fresh’ mozzarella we pick up in the fancy cheese aisle at our local Central Market. It looks fresh. It’s all squishy. And it’s wrapped in plastic like somebody’s nonna made it.
But, after making our own, we can’t imagine going back to anything we buy in the store unless zombies are taking over. Then — maybe — we’ll buy the pre-packaged stuff.
The difference really fresh mozzarella makes to things like caprese and lasagna are night and day. And it’s sadly — no, scarily — so easy I don’t understand why anyone would buy that crap out of the chill case.

Ingredients
- 1 gallon whole milk (not skim, not 2%, definitely not that ultra-high-temp milk)
- 1 1/2 teaspoon citric acid (try the canning aisle at your local grocery – or the vitamin aisle at your froufrou market)
- 1/2 a vegetable rennet tablet (we find these at the local brew store. Pick up cheesecloth while you’re there: it’s way better than the stuff at the Piggly Wiggly and you’ll want it for making Ricotta. Trust me.)
- Kosher salt
Hardware
- 5-6 quart non-reactive pot
- slotted spoon
- kitchen thermometer
- microwave safe glass bowl
- rubber gloves (you’ll thank me when you’re folding your mozzarella)
Directions
- Combine 1/2 tablet rennet with 1 cup water. Stir to dissolve. This may take a while.
- Sprinkle the citric acid in your large non-reactive pot and add 1/4 cup water. Stir to dissolve.
- Pour in 1 gallon milk (I usually let this sit out for about half an hour to get closer to room temp)
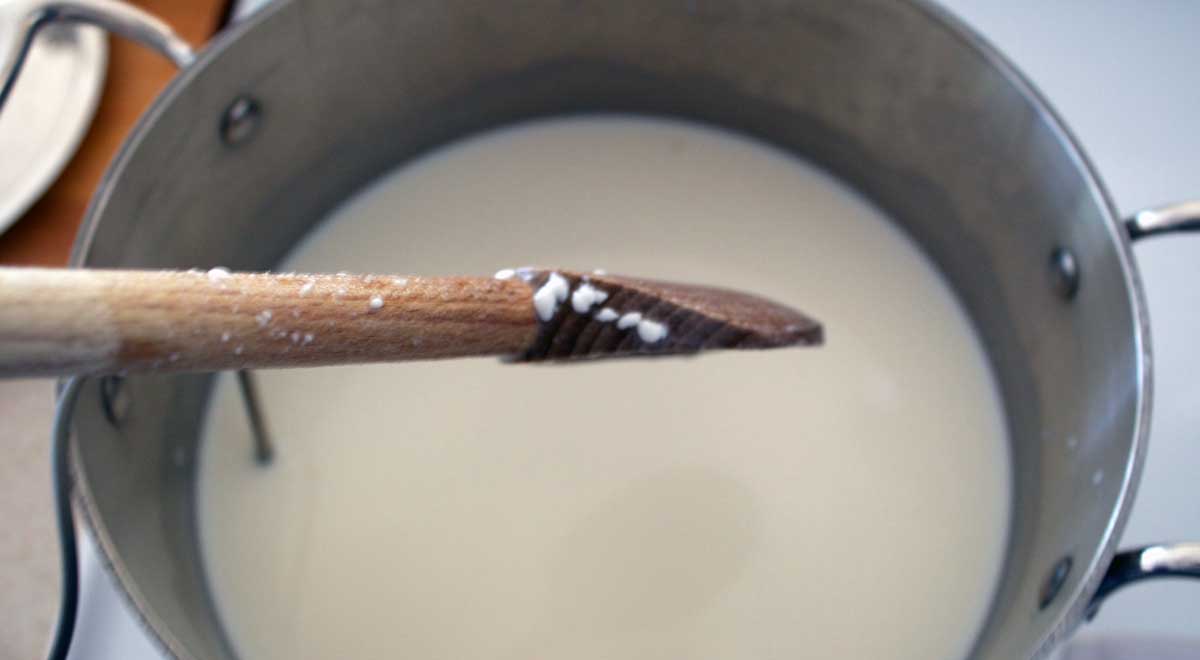
- Turn burner to medium, insert thermometer and bring mixture to 90F.
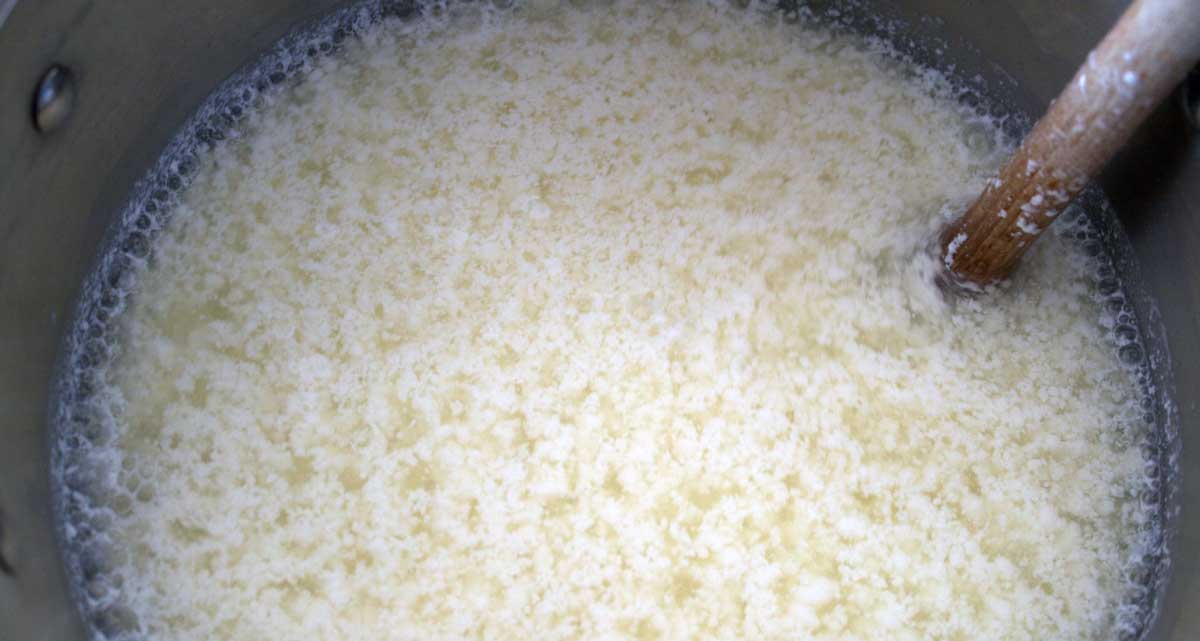
The milk will begin to curdle and small lumps can be seen on the spoon.
- Turn burner off (or remove from heat) and pour in the rennet mixture.
- Stir very slowly, moving the spoon from top to bottom for 30 seconds.
- Then use your spoon to calm the seas and stop the swirling as much as possible.
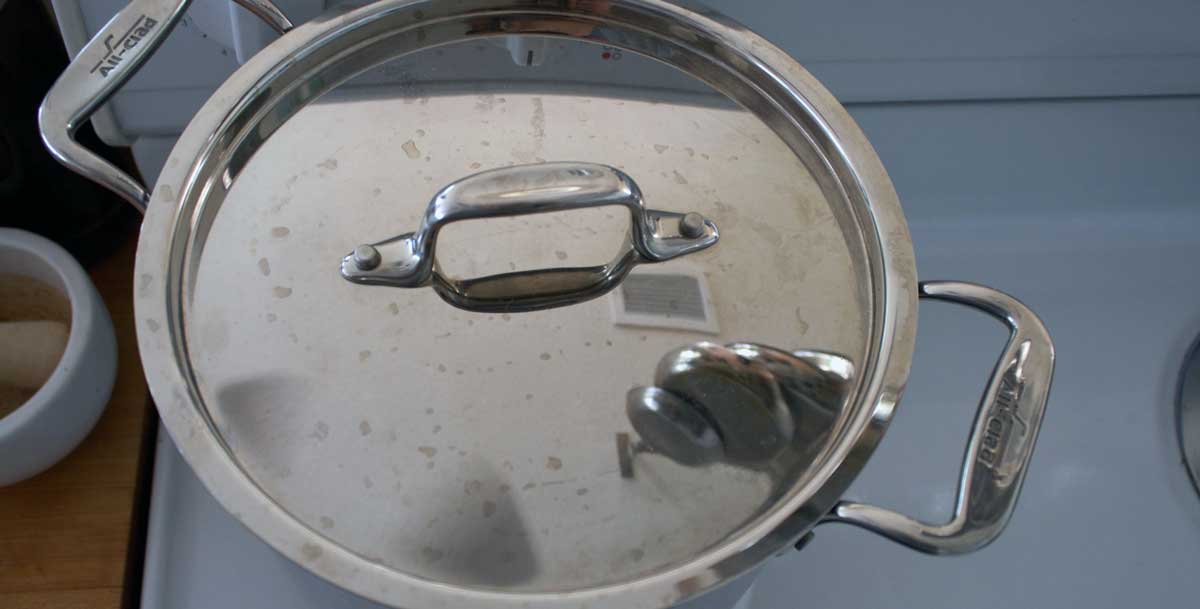
- Cover the pot with it’s lid and go pour yourself a cool libation. Wait EXACTLY five minutes.
- Uncover and look at your mixture. It should resemble very soft custard. (The longer the milk was pasteurized the farther from custard — and the closer to curds — this will look.) If it’s still pretty ‘curdy’ put the lid back on and wait 3-4 more minutes. But not a minute longer.
- Remove the lid and use a long spatula or knife to cut the curd into blocks. First up/down then crosswise.
- Return the pot to the the burner over medium heat and stir gently until the whey (the yellow-y liquid that separates from the curd) reaches 105 degrees.
- Use your slotted spoon to remove the curd to your glass bowl.
- Place the microwave safe bowl in the – you guessed it – microwave and microwave on high for 60 seconds.
- Put your gloves on, remove the bowl from the microwave and pour off as much whey as you can. Hold your gloved hand over the whey while you tilt the bowl over your pot (just in case you drop some).
- Return the bowl to the upright position, squeeze the curd gently and again pour off excess whey.
- Microwave again in 30 second bursts, draining and kneading the mozzarella curd twice more.
- Sprinkle about 1 teaspoon KOSHER salt on top of the curds and knead the salt in.
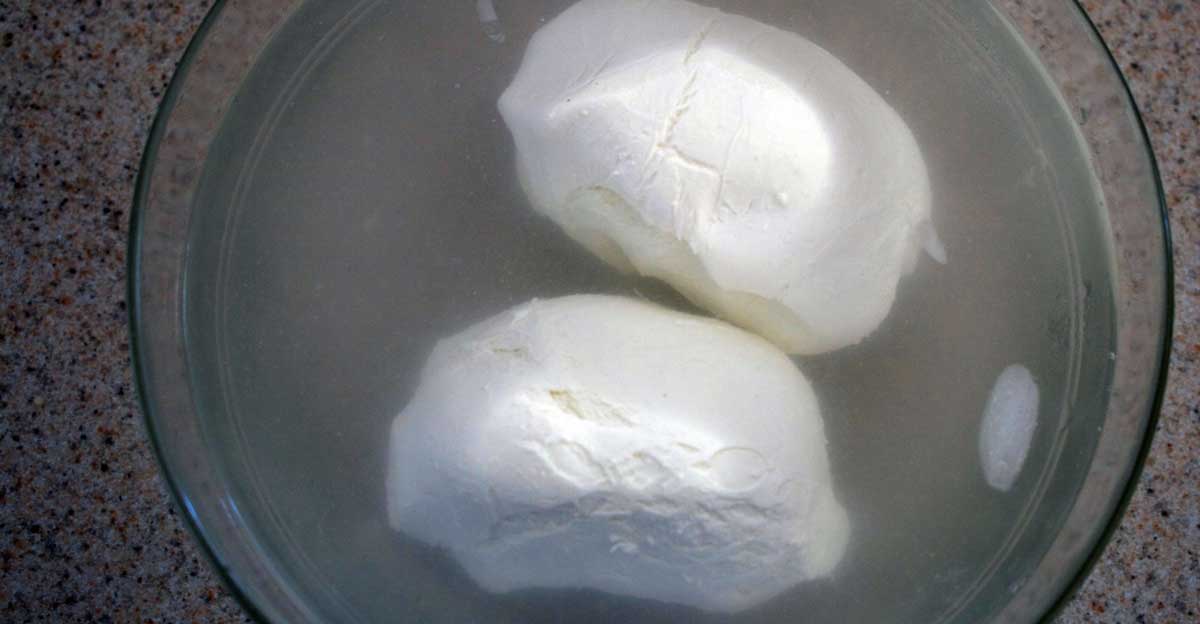
- At this point you should shape your mozzarella. If you want Bocconcini pull thumb-sized parcels off the mozzarella ball and knead into a smooth ball.
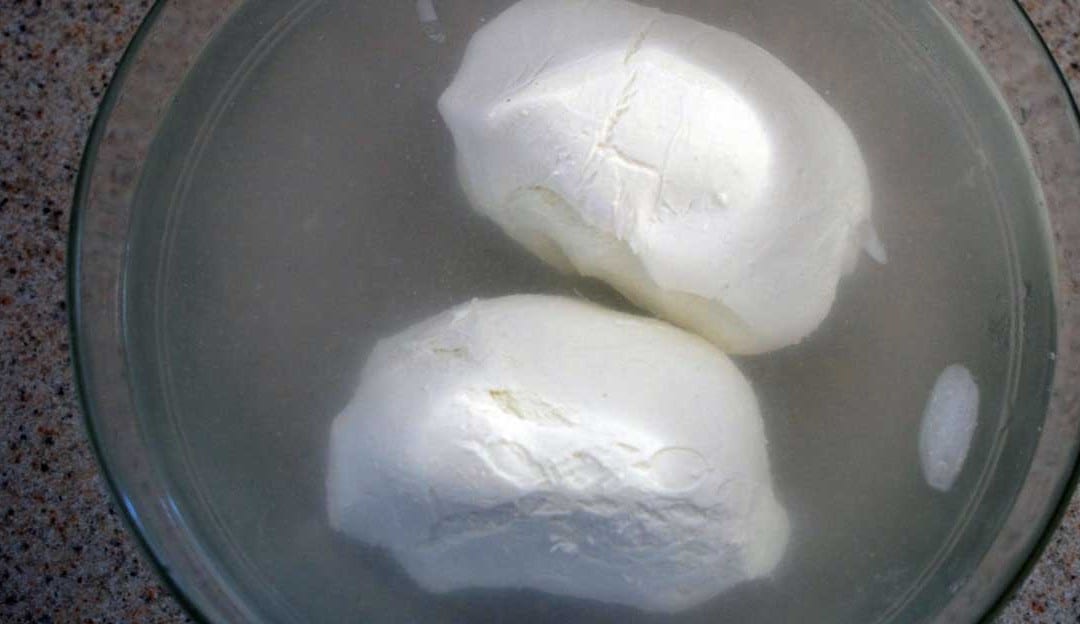
- Place the mozzarella into an ice water bath and rest for 10-15 minutes.
- If not using immediately remove the mozzarella from the bath, wrap tightly in plastic wrap and store in the refrigerator for up to a day. If you want to keep it longer (up to 1 week MAX) store in brine. Again — it really will only keep for about a week MAX.